Understanding Vapor Barrier Installation
What is a Vapor Barrier?
A vapor barrier is a material that resists the penetration of moisture. It is used in construction to protect buildings from water damage and prevent the air and moisture inside walls and crawl spaces from affecting structural integrity. These barriers can be made from a variety of impenetrable materials, such as polyethylene, foil-faced insulation, or specialized coatings. Their primary purpose is to control humidity levels, mitigate condensation problems, and preserve air quality, ultimately contributing to a healthier indoor environment.
Why is Vapor Barrier Installation Important?
The installation of vapor barriers is a critical component of effective construction techniques. By preventing moisture intrusion, a vapor barrier reduces the risk of mold growth and decay, which can negatively impact your home’s structural integrity and inhabitants’ health. Furthermore, it plays a significant role in energy efficiency by keeping heated or cooled air from escaping, thus reducing energy costs. In essence, the proper vapor barrier installation safeguards your investment and helps maintain a comfortable living space through effectively regulating indoor humidity levels.
Common Materials for Vapor Barriers
Vapor barriers come in several materials, each suited for different applications. Polyethylene sheeting (often 6 mil or thicker) is the most common choice for residential vapor barriers due to its affordability and effectiveness. Foil-faced insulation acts as both an insulator and a vapor barrier, ideal for homes needing thermal protection as well. Additionally, some paint-like coatings can create vapor barriers when applied correctly. Selecting the right vapor barrier material depends on factors like the environment, local building codes, and specific needs of the space being treated.
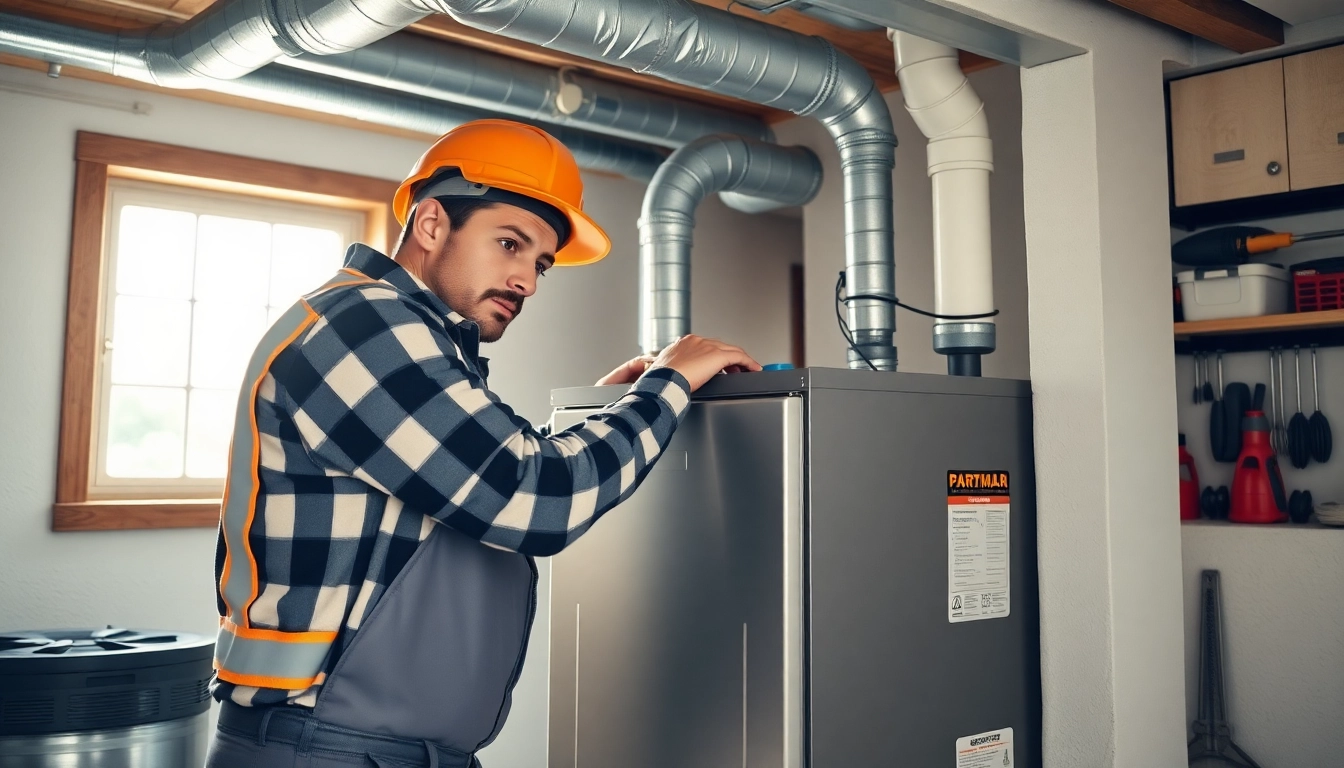
Planning for Vapor Barrier Installation
Assessing Your Space
Before diving into Vapor Barrier Installation, it’s crucial to assess the area where the barrier is to be installed. Factors such as current moisture levels, ventilation options, and existing structural issues should be carefully examined. Utilizing tools like moisture meters can be beneficial in determining how much moisture is present in your crawl space or walls. It’s also essential to identify potential sources of moisture intrusion, such as pipes or leaks, that need to be addressed prior to installation.
Choosing the Right Materials
Selecting the correct materials is key for effective vapor barrier installation. The thickness and permeability of your chosen vapor barrier will depend on your specific needs. For instance, in regions with high humidity, a thicker barrier may be necessary. It’s also essential to factor in the installation location—crawl spaces versus walls—and climate considerations that inform material choice. Take care to source high-quality materials that comply with building regulations and other industry standards to ensure long-term effectiveness.
Safety Precautions Before Installation
Safety is paramount when planning for vapor barrier installation. Proper personal protective equipment (PPE) such as gloves, masks, and eye protection should be worn to prevent contact with dust and harmful substances. Additionally, ensure the work area is adequately ventilated, and take precautions against potential hazards such as uneven surfaces or exposed electrical components. Always consult professionals for advice when working in potentially dangerous areas like crawl spaces or basements.
Step-by-Step Guide to Vapor Barrier Installation
Preparing the Area
The first step in the installation process is preparing the area. This begins with cleaning the space thoroughly, removing any debris, old insulation, or existing moisture barriers. A clean surface will ensure better adhesion and a smoother application. If working in a crawl space, check for signs of mold or pests, as these issues need to be resolved before proceeding. It is also advisable to confirm that the ground is sufficiently leveled and dry, as water pooling can compromise the barrier’s effectiveness.
Installing the Vapor Barrier
Once the area is clean and dry, it’s time to install the vapor barrier. Begin by laying the material across the designated area, ensuring overlap at seams of at least 12 inches for larger sheets. Secure the barrier to the ground using large, flat rocks or stakes to maintain its position. If installing against walls, cut the sheeting to the correct height and attach it using staples or adhesive, ensuring it lies flat against the surface without gaps or bulges. Pay attention to local building codes, which may have specific requirements for installations.
Sealing and Final Touches
After the vapor barrier is installed, sealing is essential to prevent moisture from seeping through any gaps. Use commercial-grade seam tape to connect overlapping sections and seal any penetrations, such as electrical outlets or plumbing. In some instances, a sealant may also be recommended for the edges where the vapor barrier meets the wall or floor. Ensure every seam and joint is adequately secured, as these small details are critical for the overall effectiveness of the vapor barrier.
Common Mistakes to Avoid in Vapor Barrier Installation
Poor Surface Preparation
One of the most frequent mistakes in vapor barrier installation is insufficient surface preparation. Failing to clean, dry, and level the installation area can lead to leaks and compromised barrier efficacy. It’s crucial to dedicate ample time to preparing the space to ensure that the barrier adheres properly and functions as intended over the long term.
Incorrect Sealing Techniques
Another common pitfall involves inadequate sealing of seams and joints. Improperly sealed areas can become entry points for moisture, nullifying the barrier’s purpose. Ensure that all edges and overlaps are securely taped or sealed with appropriate materials. Employing professionals or following manufacturer guidelines can help mitigate this risk.
Neglecting Ventilation Considerations
Failing to consider ventilation is a frequent oversight in vapor barrier installations, particularly in crawl spaces and basements. While a vapor barrier is essential for moisture control, it must be paired with proper ventilation systems to allow for adequate air circulation. Neglecting this aspect can lead to issues such as mold growth and poor indoor air quality, emphasizing the importance of a holistic approach to moisture management.
Maintaining Your Vapor Barrier
Periodic Inspections and Repairs
Maintaining your vapor barrier is crucial for its long-term functionality. Conduct inspections at least once a year, checking for signs of wear, moisture intrusion, or damage. If any issues are identified, make repairs immediately to prevent larger problems from developing. Regular maintenance ensures that your investment continues to protect your home effectively.
Signs You Need to Replace Your Vapor Barrier
There are several indicators that it may be time to replace your vapor barrier. Look for visible signs of moisture, mold growth, or deterioration of the material itself. If indicated, conduct moisture tests and consult professionals for an assessment. Even if a barrier appears intact, if it’s more than ten years old, consider a replacement to safeguard against potential issues.
FAQs on Vapor Barrier Installation
What materials are best for vapor barriers?
The best materials are typically polyethylene sheeting (6 mils or thicker) or foil-faced insulation. Choose based on the specific moisture conditions and regulations of your area.
Can I install a vapor barrier myself?
Yes, homeowners can install a vapor barrier with proper planning and tools. It’s essential to follow best practices and safety guidelines for an effective installation.
How often should I inspect my vapor barrier?
It is advisable to inspect your vapor barrier at least yearly, looking for signs of damage or moisture that could indicate the need for repairs or replacement.
Where should the vapor barrier be installed?
The vapor barrier should usually be installed on the warm side of insulation in walls or directly on the ground in crawl spaces to prevent moisture infiltration.
What are the consequences of not having a vapor barrier?
Without a vapor barrier, homes may experience increased humidity, mold growth, structural damage, and energy inefficiency leading to higher utility bills.