Understanding Mini Split AC Systems
As climate control technology advances, many homeowners are turning to innovative cooling solutions to ensure comfort in their living spaces. One such option is the mini split ac. Unlike traditional air conditioning systems, mini splits provide efficient, flexible temperature management without the need for extensive ductwork. This article explores the core components, advantages, and installation intricacies of mini splits, ensuring you have a comprehensive understanding before choosing the right system for your home.
What Is a Mini Split AC?
A mini split AC, also known as a ductless mini split system, is an advanced air conditioning solution that comprises an outdoor compressor unit and one or more indoor air-handling units. The system operates without traditional ducting, making it an ideal choice for homes that lack existing ductwork or require targeted cooling in specific areas. The flexibility in installation and control that mini splits offer makes them increasingly popular among homeowners looking for efficient climate control.
How Do Mini Split ACs Work?
Mini split ACs function by transferring heat from inside a space to the outdoors. The process begins when the indoor unit absorbs heat from the air in your home. This warm air is then pushed to the compressor in the outdoor unit, where it is pressurized and transformed from a gas back to a liquid. The refrigerant circulates back to the indoor unit, where it’s evaporated, cooling the air before being circulated back into your living spaces. This cycle continues, maintaining a comfortable environment with minimal energy consumption.
Parts of a Mini Split AC System
Understanding the core components of a mini split AC system can help you appreciate its functionality better:
- Indoor Units: These units are installed inside your home and come in various styles, such as wall-mounted, ceiling-mounted, or floor-standing. They distribute cooled air into the space.
- Outdoor Unit: Houses the compressor and condenser, this unit is typically mounted on a concrete pad or wall bracket outside your home.
- Refrigerant Lines: These insulated copper pipes connect the indoor and outdoor units, transporting refrigerant that absorbs and releases heat during the cooling cycle.
- Drain Line: Removes condensation created during the cooling process, preventing any damage or mold growth in your home.
Advantages of Mini Split AC Solutions
Energy Efficiency and Cost Savings
One of the standout benefits of mini split AC systems is their energy efficiency. Traditional HVAC systems can waste significant energy due to duct leaks and inefficient airflow. In contrast, mini splits operate on an individual air distribution system, ensuring that only the areas needing cooling receive airflow. Many mini split units come with high Seasonal Energy Efficiency Ratios (SEER) ratings, denoting better energy performance, ultimately leading to cost savings on your energy bills.
Flexible Installation Options
Mini splits are versatile in their installation capabilities. With options for wall-mounted, floor-mounted, or ceiling-mounted indoor units, homeowners can select systems that best integrate into the design of their living spaces. Additionally, installation can often be completed in one or two days without the extensive renovation required for traditional ducted systems, making mini splits an ideal solution for renovations or new constructions alike.
No Ductwork Required
The absence of ductwork is a significant advantage of mini split AC systems. Many homes lack the necessary ducts for traditional HVAC systems, which can lead to expensive retrofitting. Mini splits require only small holes for installing refrigerant lines, preventing disruption to your living environment and reducing the potential for costly modifications.
Choosing the Right Mini Split AC for Your Space
Sizing Your Mini Split AC
When considering a mini split AC system, proper sizing is crucial to ensure optimal performance. An undersized unit will struggle to cool your space adequately, while an oversized unit may lead to inefficient energy use and discomfort. Sizing is typically measured in British Thermal Units (BTUs), which indicates the cooling capacity. Consulting a professional to calculate your space’s specific cooling requirements based on factors like square footage, insulation, and sun exposure is highly recommended.
Understanding BTUs and Efficiency Ratings
BTUs determine how much energy your mini split AC uses to remove heat from a given area. Generally, the higher the BTU rating, the larger the area the unit can efficiently cool. Additionally, energy efficiency ratings such as SEER and EER provide insights into long-term energy costs and the overall effectiveness of the unit. Homeowners should look for systems with high efficiency ratings to maximize energy savings over time.
Additional Features to Consider
Aside from size and efficiency, you should consider other features when selecting a mini split AC system:
- Multi-Zone Capability: If you require cooling for multiple rooms, look for a multi-zone mini split system that can independently control temperatures in different areas.
- Smart Technology: Many modern mini splits offer smart technology features, allowing you to control settings with a smartphone app or voice assistants for added convenience.
- Heating Functions: Some mini split models come with heat pump capabilities, allowing them to provide heating in colder months, making them multifunctional appliances.
Installation Process of Mini Split AC
Pre-Installation Considerations
Before beginning the installation, determining the right location for both the indoor and outdoor units is essential. Factors to consider include proximity to windows, electrical access, and drainage for the condensate line. Ensure you comply with local building codes and regulations, as proper installation is critical for the system’s efficiency and longevity.
Step-by-Step Installation Guide
The installation process for a mini split AC can be summarized in several key steps:
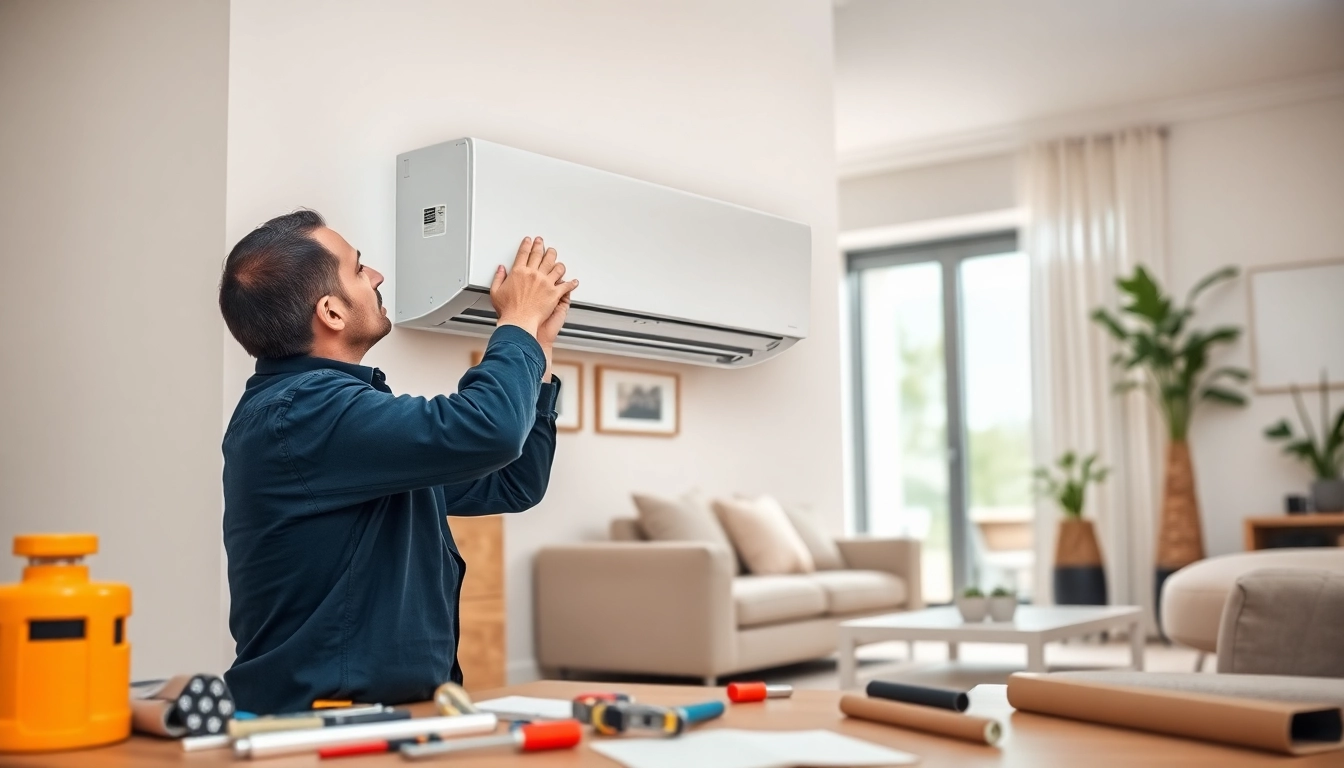
- Mount the indoor unit: Choose an appropriate wall space and securely attach the mounting bracket. Ensure the unit is level for optimal performance.
- Drill the hole for the refrigerant line: Drill a hole through the wall for the refrigerant line, ensuring it is adequately sized and free of debris.
- Place the outdoor unit: Secure the outdoor unit on a stable surface, enabling easy access for maintenance and protection from weather elements.
- Connect refrigerant lines: Connect the copper lines from the indoor to outdoor units while ensuring proper insulation and sealing to prevent leaks.
- Test the system: After installation, follow the manufacturer’s guidelines to test the system and check for any leaks or functionality issues.
Common Challenges During Installation
While mini split installations can be straightforward, there are potential challenges. Improper location selection can hinder performance; insufficient insulation may lead to energy loss. Additionally, requiring permits in certain jurisdictions can stall installation processes. Hiring qualified HVAC professionals can mitigate these issues and ensure a successful setup.
Maintenance and Troubleshooting Mini Split AC
Essential Maintenance Tips
To ensure that your mini split AC continues to operate efficiently, regular maintenance is necessary. Clean or replace filters monthly to enhance airflow and prevent strain on the motor. Check drain lines for clogs and clear them as needed. Additionally, having a professional service your system annually can help identify issues before they become serious problems.
Common Issues and Fixes
Common problems with mini split systems may include:
- Inadequate cooling: This can result from dirty filters, low refrigerant levels, or improper sizing.
- Strange noises: Unusual noises may indicate a loose fan or debris in the outdoor unit.
- Leaking refrigerant: Refrigerant leaks require immediate professional attention to prevent system damage and ensure efficient performance.
When to Call a Professional
While minor troubleshooting can be managed at home, involving a professional for complex issues or system failures is advisable. Signs that maintenance is needed may include persistent noises, decreased efficiency, or noticeable drops in cooling ability. A professional can perform diagnostics and repairs effectively and safely.
Frequently Asked Questions
1. What is the lifespan of a mini split AC system?
A mini split AC can typically last between 15 to 20 years with proper maintenance and care, providing reliable cooling and heating over its lifetime.
2. Can mini split AC systems also provide heating?
Many mini split systems come with heat pump functionality, allowing them to provide efficient heating during colder months, making them versatile.
3. How often should I clean the filters?
It is recommended to clean or replace the filters of your mini split AC every month for optimal airflow and efficiency, especially during peak usage seasons.
4. Are mini split systems noisy?
Mini split systems are generally quieter than traditional HVAC systems. The indoor units operate at a low noise level, often comparable to a gentle breeze.
5. Do I need to hire a professional for installation?
While DIY installation is possible, hiring a professional is advisable to ensure proper setup, efficiency, and adherence to local codes for safety and performance.