Homeowners looking for an efficient and flexible heating and cooling solution often turn to ductless mini-split installation. These systems offer quiet operation, improved energy savings, and the freedom to condition spaces without traditional ductwork. But to get the best performance, it’s essential to understand what the process involves. Schwantes Heating and Air Conditioning provides expert services designed to ensure every Ductless mini-split installation is completed safely, correctly, and with long-term reliability in mind.
- Understanding the System Before Installation
- Step 1: Assessment and Planning
- Step 2: Preparing the Indoor Unit Locations
- Step 3: Setting Up the Outdoor Unit
- Step 4: Connecting the Line Sets
- Step 5: Electrical Connections and Safety Checks
- Step 6: Vacuuming, Charging, and Testing
- Step 7: Final Walkthrough and User Guidance
- Why Professional Installation Makes All the Difference
- Conclusion
Understanding the System Before Installation
What Makes Ductless Systems Unique
Unlike central HVAC systems, ductless units deliver conditioned air directly into individual rooms. Before beginning a ductless mini-split installation, technicians evaluate your home’s layout, insulation levels, and comfort needs. Each indoor unit is placed strategically to create the perfect balance of performance and efficiency.
Choosing the Right Type and Size
Correct capacity is crucial. During a professional consultation, specialists perform a load calculation to determine the size of the system needed. This step ensures your ductless mini-split installation delivers the right heating and cooling output without wasting energy.
Step 1: Assessment and Planning
A successful ductless mini-split installation begins with a detailed home assessment. Technicians identify the best locations for both indoor and outdoor units, considering factors such as room size, sun exposure, airflow, and available electrical access. Schwantes Heating and Air Conditioning aims to design a layout that maximizes comfort and minimizes visual impact.
Determining the Right Number of Zones
Homes with multiple rooms or complex layouts may require several indoor units. A thoughtful zoning plan ensures each area receives custom temperature control. This makes the overall ductless mini-split installation far more effective and efficient.
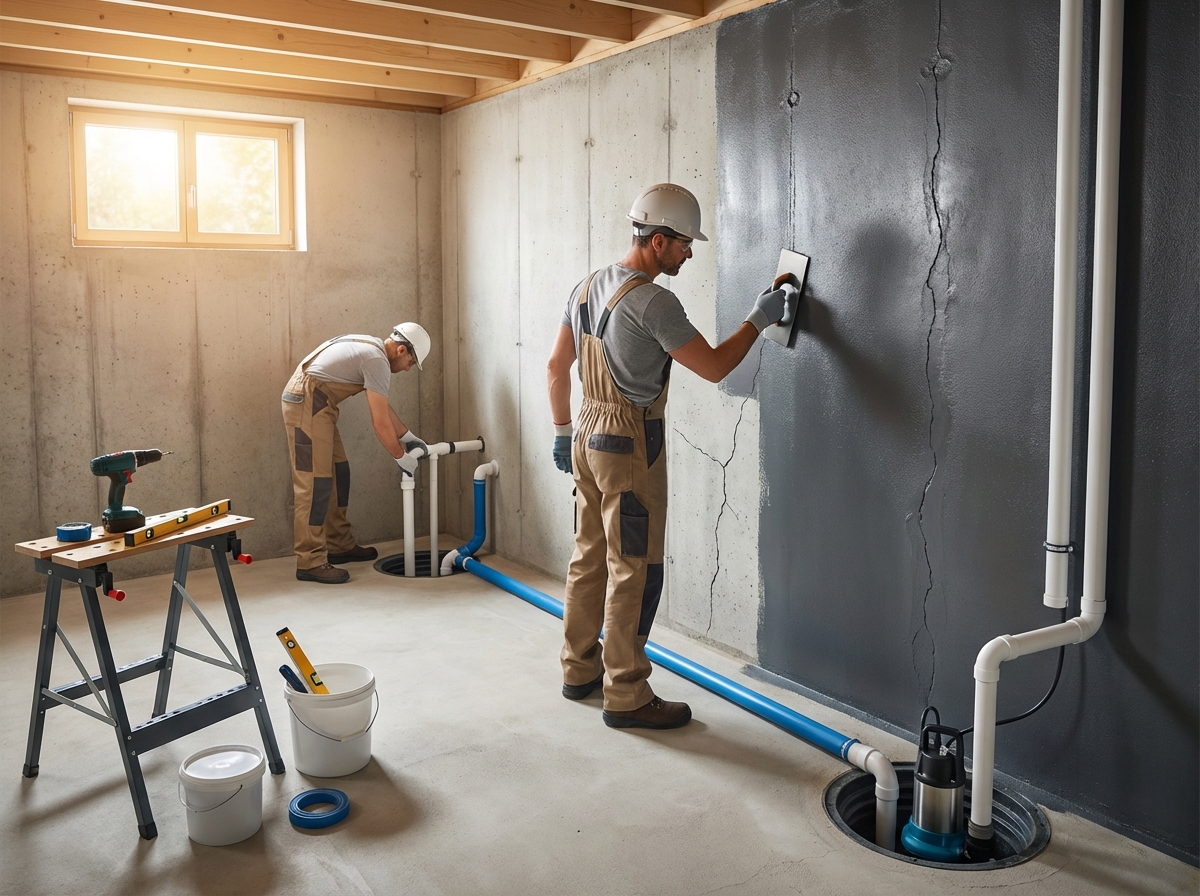
Step 2: Preparing the Indoor Unit Locations
Once the plan is finalized, installers prepare the mounting locations. This includes setting up wall brackets and ensuring the surface can support the unit. Precise placement is vital—an improperly positioned indoor head can lead to uneven temperatures or reduced efficiency. Proper care at this stage ensures your ductless mini-split installation starts strong.
Creating a Line-Set Opening
A small opening is drilled through the wall to allow for the refrigerant lines, wiring, and drain tubing. This hole is carefully sealed during the ductless mini-split installation to prevent air leaks, moisture issues, and pest intrusion.
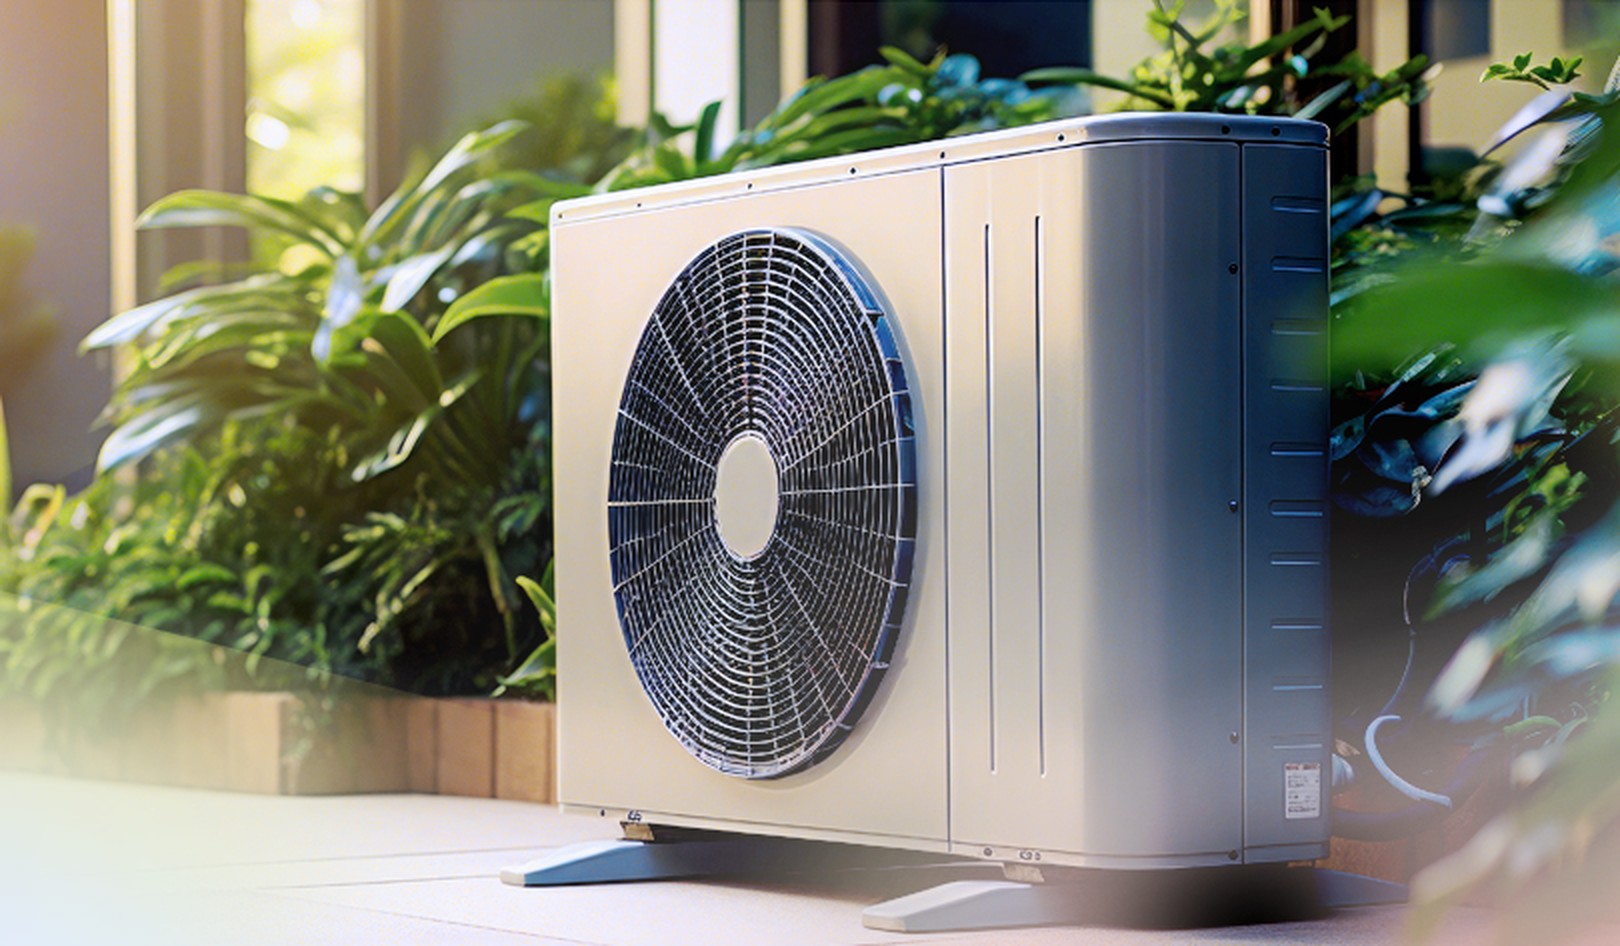
Step 3: Setting Up the Outdoor Unit
The outdoor condenser is placed on a stable surface such as a concrete pad or wall mount. The placement must allow for proper airflow around the unit. A professional ductless mini-split installation ensures the condenser is level, secure, and protected from excessive snow or debris that could limit performance.
Step 4: Connecting the Line Sets
Refrigerant lines must be routed cleanly and efficiently between the indoor and outdoor units. During a precise ductless mini-split installation, these lines are insulated properly to prevent heat loss and condensation. Installers also ensure that tubing is hidden as much as possible to maintain your home’s visual appeal.
Ensuring Proper Drainage
The condensate drain line allows moisture to exit the system safely. A reliable ductless mini-split installation includes positioning this line to avoid blockages and prevent water damage.
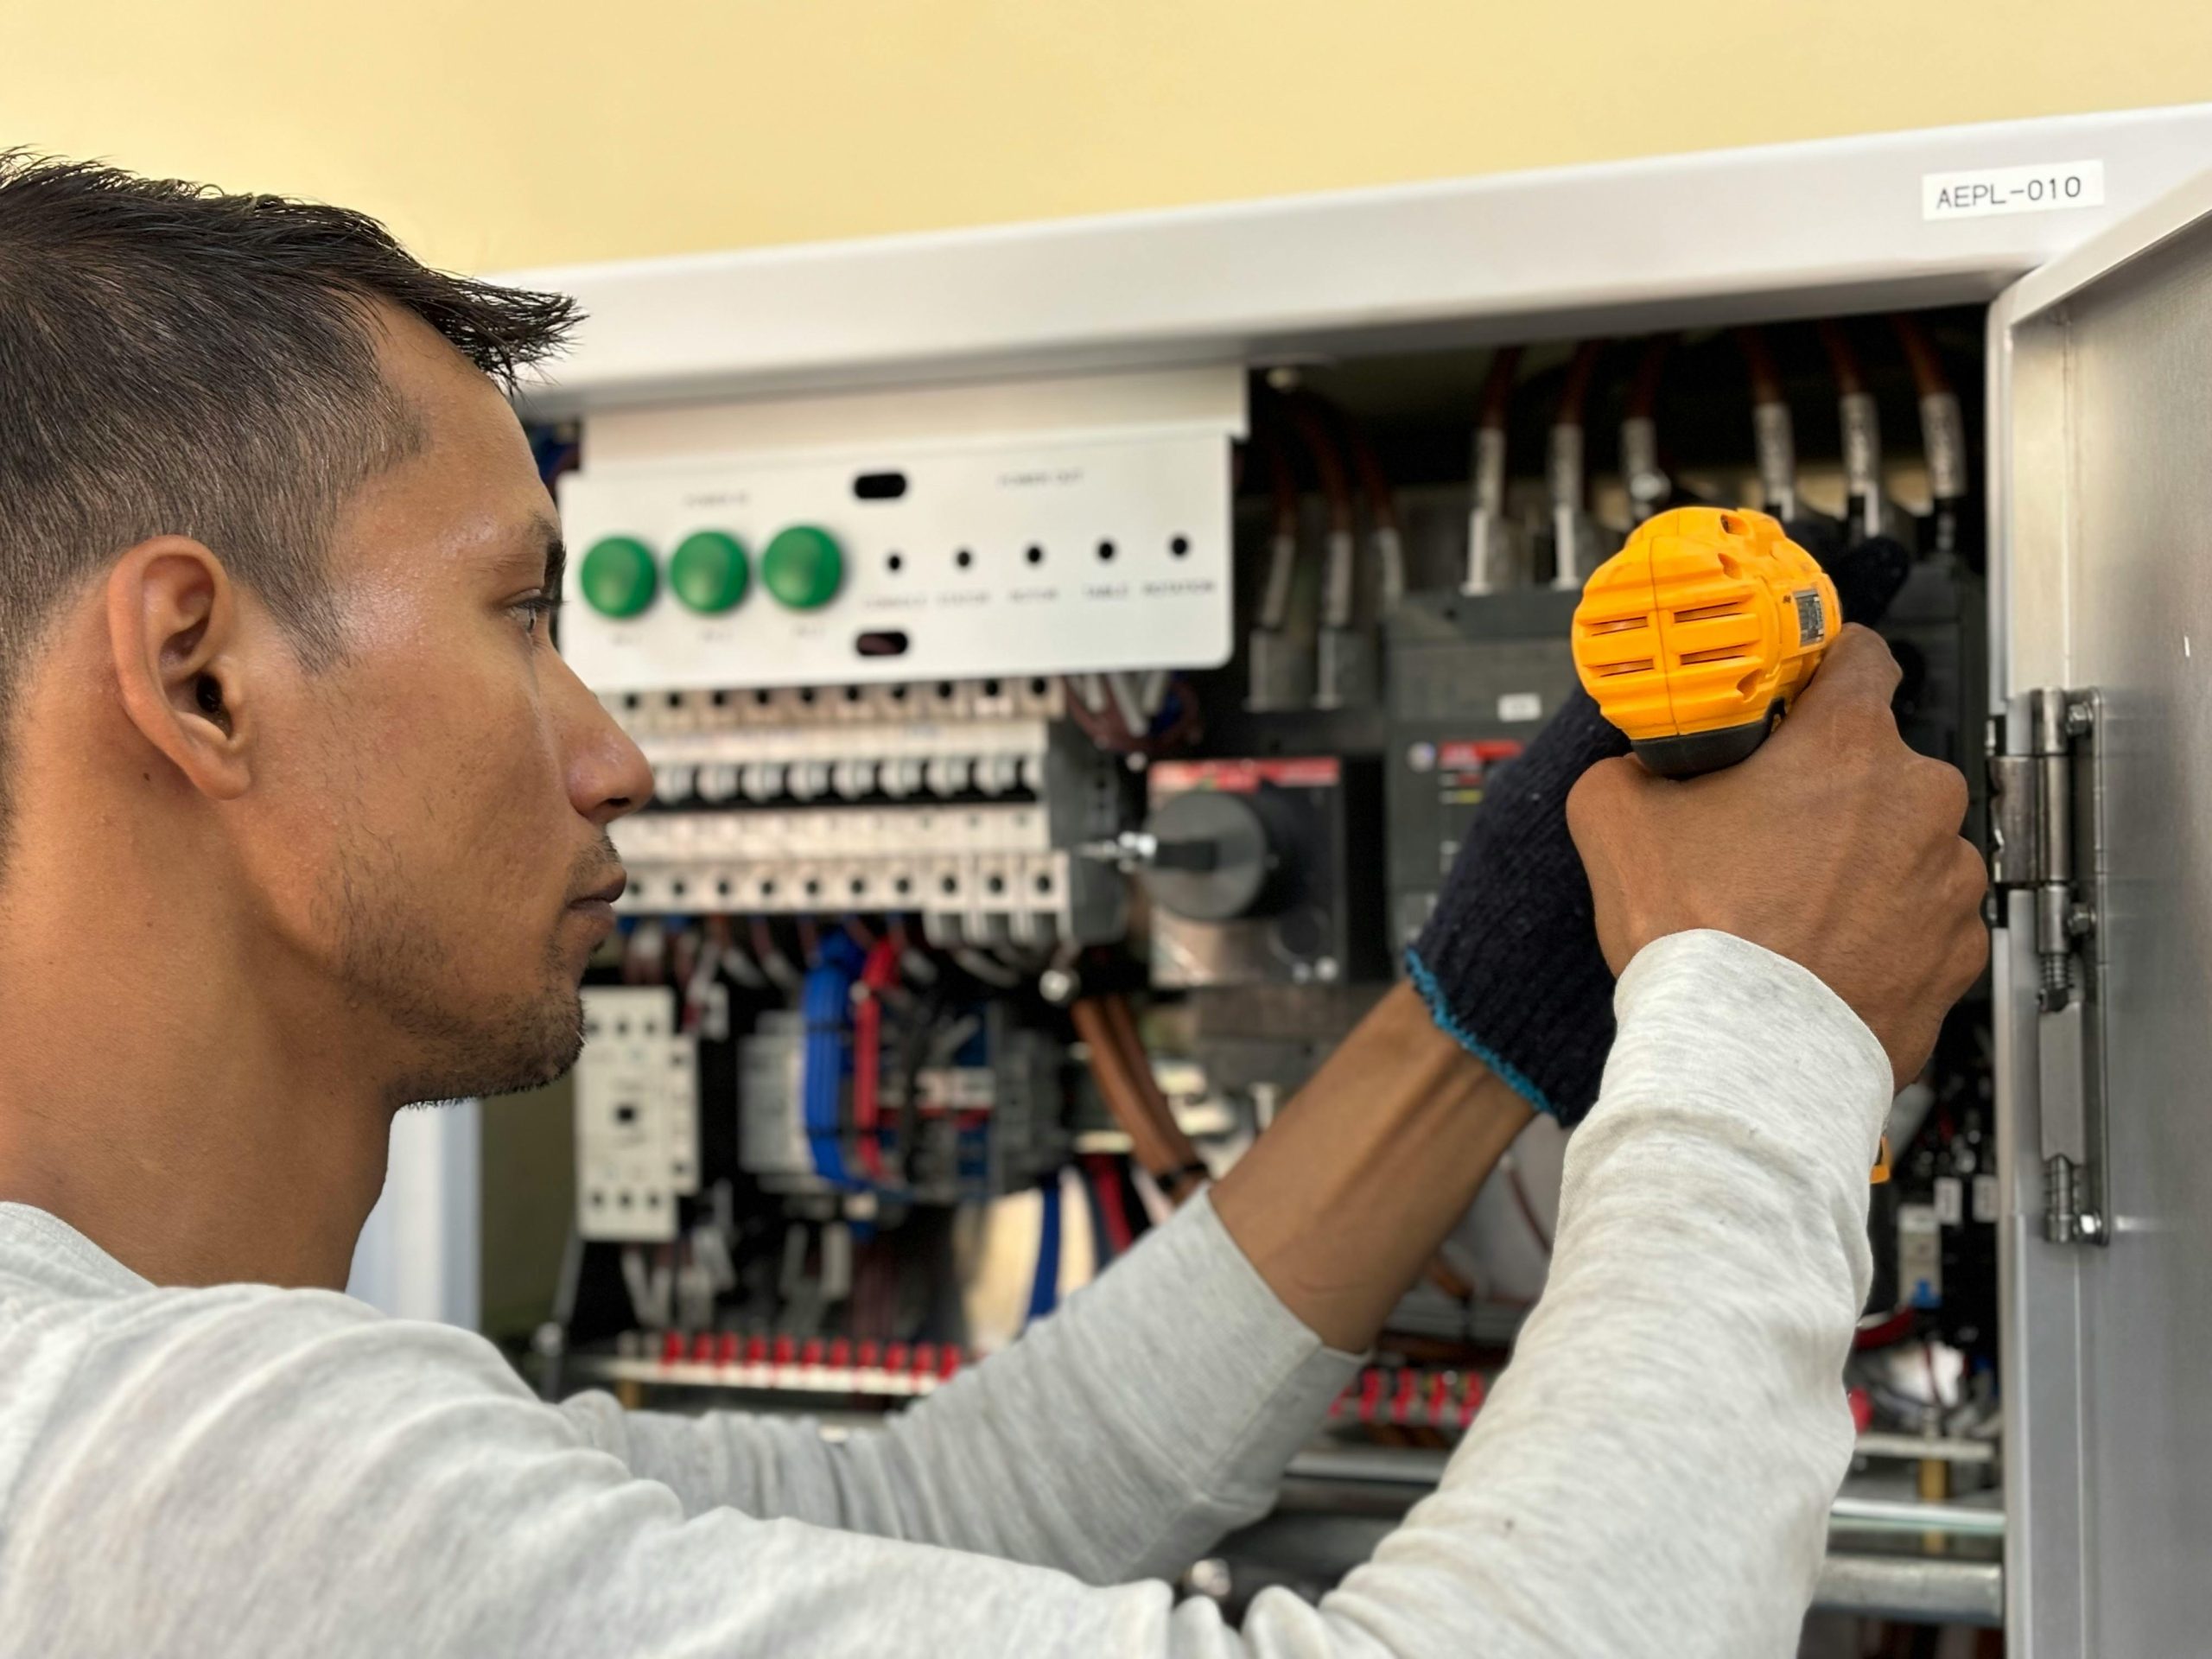
Step 5: Electrical Connections and Safety Checks
Electrical work is one of the most important parts of a ductless mini-split installation. A dedicated circuit is often required to protect your home and system. Certified technicians ensure all wiring meets building codes and manufacturer specifications.
Verifying Voltage and System Compatibility
Each component must be matched and tested. An incorrect electrical connection can reduce efficiency or damage the system. Professional installers make sure every detail is correct before moving to the final stages of the ductless mini-split installation.
Step 6: Vacuuming, Charging, and Testing
Before refrigerant can flow, the lines must be vacuumed to remove moisture and air. This ensures the system works without contamination. During this step of the ductless mini-split installation, technicians also check for leaks and confirm that pressure levels are correct.
Running the System for the First Time
Once the vacuum and charge are complete, the system is powered on. Installers test airflow, temperature output, zoning functions, and remote controls. A professional ductless mini-split installation includes fine-tuning the system so it performs quietly, efficiently, and reliably.
Step 7: Final Walkthrough and User Guidance
After the system is fully operational, homeowners receive a complete walkthrough. Schwantes Heating and Air Conditioning explains how to use the controls, maintain the filters, adjust settings, and identify signs that service may be needed. This ensures your ductless mini-split installation continues to perform at its best for years.
Why Professional Installation Makes All the Difference
A do-it-yourself project may seem appealing, but the precision needed for a successful ductless mini-split installation requires training and experience. From securing manufacturer warranties to ensuring refrigerant safety, professionals protect your investment and guarantee optimal performance.
Conclusion
A properly completed ductless mini-split installation provides versatile comfort, lower energy bills, and long-lasting reliability. By understanding the process and choosing skilled installers like Schwantes Heating and Air Conditioning, homeowners enjoy a smooth setup and exceptional performance from their new system. Whether upgrading a single room or creating a multi-zone layout, expert ductless mini-split installation delivers comfort you can count on.